SOURDOUGH
A SOURDOUGH LOAF
A CONVERSATION: A VIDEO TURTORIAL IN FIVE PARTS: A LOAF
Dough as a kitchen foundation. A platform to build. Not enough people understand dough but it truly is the heart of our cooking as bread is the hearth. With bread we can welcome anyone to our table. Sourdough is the mother. I have not named mine as she is and will always be my mother and I will respect her as such and call her as such. Dough is the crux of all of my kitchen work and so here I offer you the basic sourdough loaf. This formula is not mine. It has its roots in Chad Robertson’s formula and method from his book Tartine Bread with slight variations based on years of mistakes and troubleshooting. I have found that even with his formula my bread was very different than his based on my kitchen, my tools, my schedule, my starter.
I remember visiting Tartine for the first time years ago. I was invited by Crystal White, of Wayfarer Bread, to observe their bread operation. It was there that I met Richard Hart for the first time. He let me shape bread with him and we talked starter. He explained the Tartine feeding schedule and the schedule for building the levain. I observed the timing of the operation from start to finish hoping to gain knowledge of the process that perhaps I was missing. Eagerly I drove home, anticipating getting back into my kitchen and trying the new schedule. I would feed my starter at a specific time and encourage strong activity by feeding more often. I would mix my levain when the starter was at its most active peak. And then I mixed and baked the bread. It was awful. It had lost all of it’s flavor, it was spongy with a closed crumb. I was disappointed. So I decided to go back to my schedule of letting my starter get to a significantly spent state before mixing my levain in the morning. My bread went back to the way I liked it. The formula was the same, the same percentages, the same flours, the same method. What was different was my starter and therefore made the bread mine.
I think this is important to note as bread baking is quite universal and yet incredibly specific to each baker. From a basic foundation we can create a lot of variety in flavor and texture. We can experiment to find the process that most highly suits our circumstances and our environment. The process of sourdough is alive and ever fluctuating. The variables can be exhausting. In that, though, is the beauty of bread. It is that which makes makes bread such an amazing companion in the kitchen and an absolutely necessary companion to the food on your table.
I have taken a different approach to teaching this process than my other recipe tutorials. The video tutorials here are lengthy but basic. It is perhaps a lot of talk, but I think the reason I came to bread and have committed to it for so many years is as valuable as the formula. I have broken it into five parts. Within these five videos I walk you through the entire process and talk a little bit about what it all means to me. You may find it tedious to listen to or maybe interesting. You may watch bits and pieces or straight from start to finish. What I want to convey is the conversation of bread. Of the thought and time that goes into the process, not chopped into bits but in actual time, (apart from hours and hours of fermtation. I spare you that).
I hope it comes across as simple. I hope it comes across as thoughtful. I mostly hope it comes across as doable and something to enjoy. Give it a go.
SOURDOUGH STARTER: THE MOTHER
I will not go into depth here. It is rather simple. You must trust the process. Don’t be scared.
Mix together equal parts water and flour in a bowl or jar. My flour mix for my starter is always a 50/50 blend of white and whole wheat. Some people like to use rye. Please scale this by grams as a cup of flour is not equal to a cup of water. Accuracy is in scale measurements. For bread we work in kilograms.
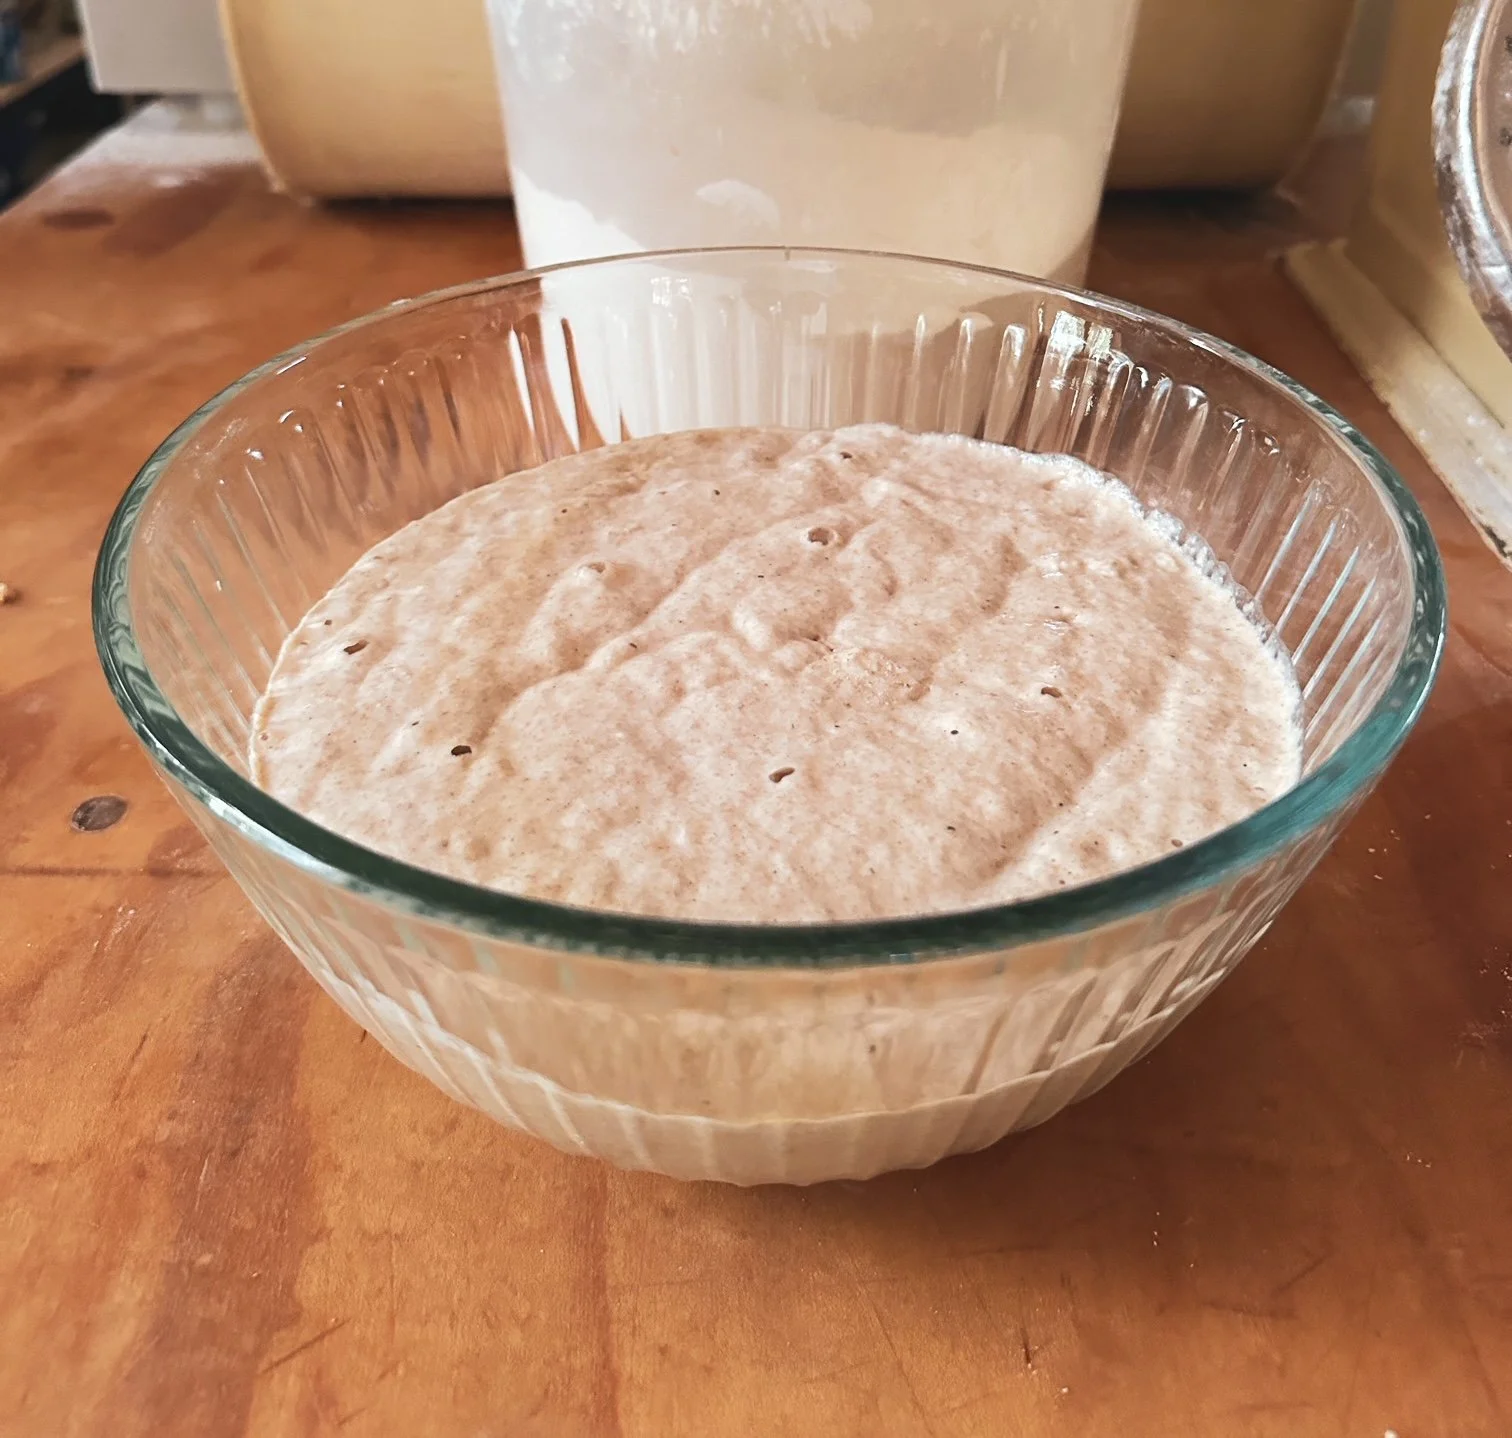
Let your flour and water mix sit, covered with a cloth at room temperature for a couple of days. You will start to see it bubble. Once it is actively bubbling you can begin to feed you mother.
Feeding: Discard 80 percent of the starter. Feed with equal parts flour and water like above. Stir generously, cover and let rest at room temp.
Continue this process of feeding every day at the same time for two weeks. You can also feed twice a day, morning and evening. The most important thing is to be consistent and regular. You will eventually start to notice a pattern of rising and falling. When you feed your starter the yeast begins to feed. It smells rather sweet and milky after this feeding. The starter will grow and reach a peak. At this point there is nothing more for the yeast to eat. It is now the bacterias turn. As the bacteria feeds the starter will fall and become acidic until it is spent. You will have to observe this pattern and become accustomed to the ebb and flow of your mother.
After two weeks, if your starter is actively and regularly rising and falling, you can mix your first batch of sourdough.
There is a lot more science to this. This is the over simplified version but something to get you started.
* * * * * * * * * * * * * * * * * * * * * * * * * * * * * *
* * * * * * * * * * * * * * * * * * * * * * * * * * * * * *
THE LEVAIN: GROWING YOUR YEAST AND PREPPING THE MIX
Once your starter is ready you will want to try your first loaf of bread.
I do a feeding the night before I want to mix my dough. By the morning the yeast has eaten and my starter has peaked and fallen. This is when I mix my levain.
For this batch, we are aiming for two loaves of bread. We will mix 200g warm water, 2 tablespoons starter, and 200 grams flour of our 50/50 blend.
This levain will sit and ferment at room temperature for seven hours depending on temperature of the levain. The warmer the levain the faster it will ferment.
It is ready when you drop it in water and it floats.
* * * * * * * * * * * * * * * * * * * * * * * * * * * * * *
* * * * * * * * * * * * * * * * * * * * * * * * * * * * * *
TIME TO MIX YOUR DOUGH: PLEASE WATCH THE VIDEO TUTORIALS BECAUSE I TALK IN MORE DEPTH ABOUT THE PROCESS AND THE FORMULA AS I ACTIVELY MAKE IT. IT WILL MAKE MORE SENSE.
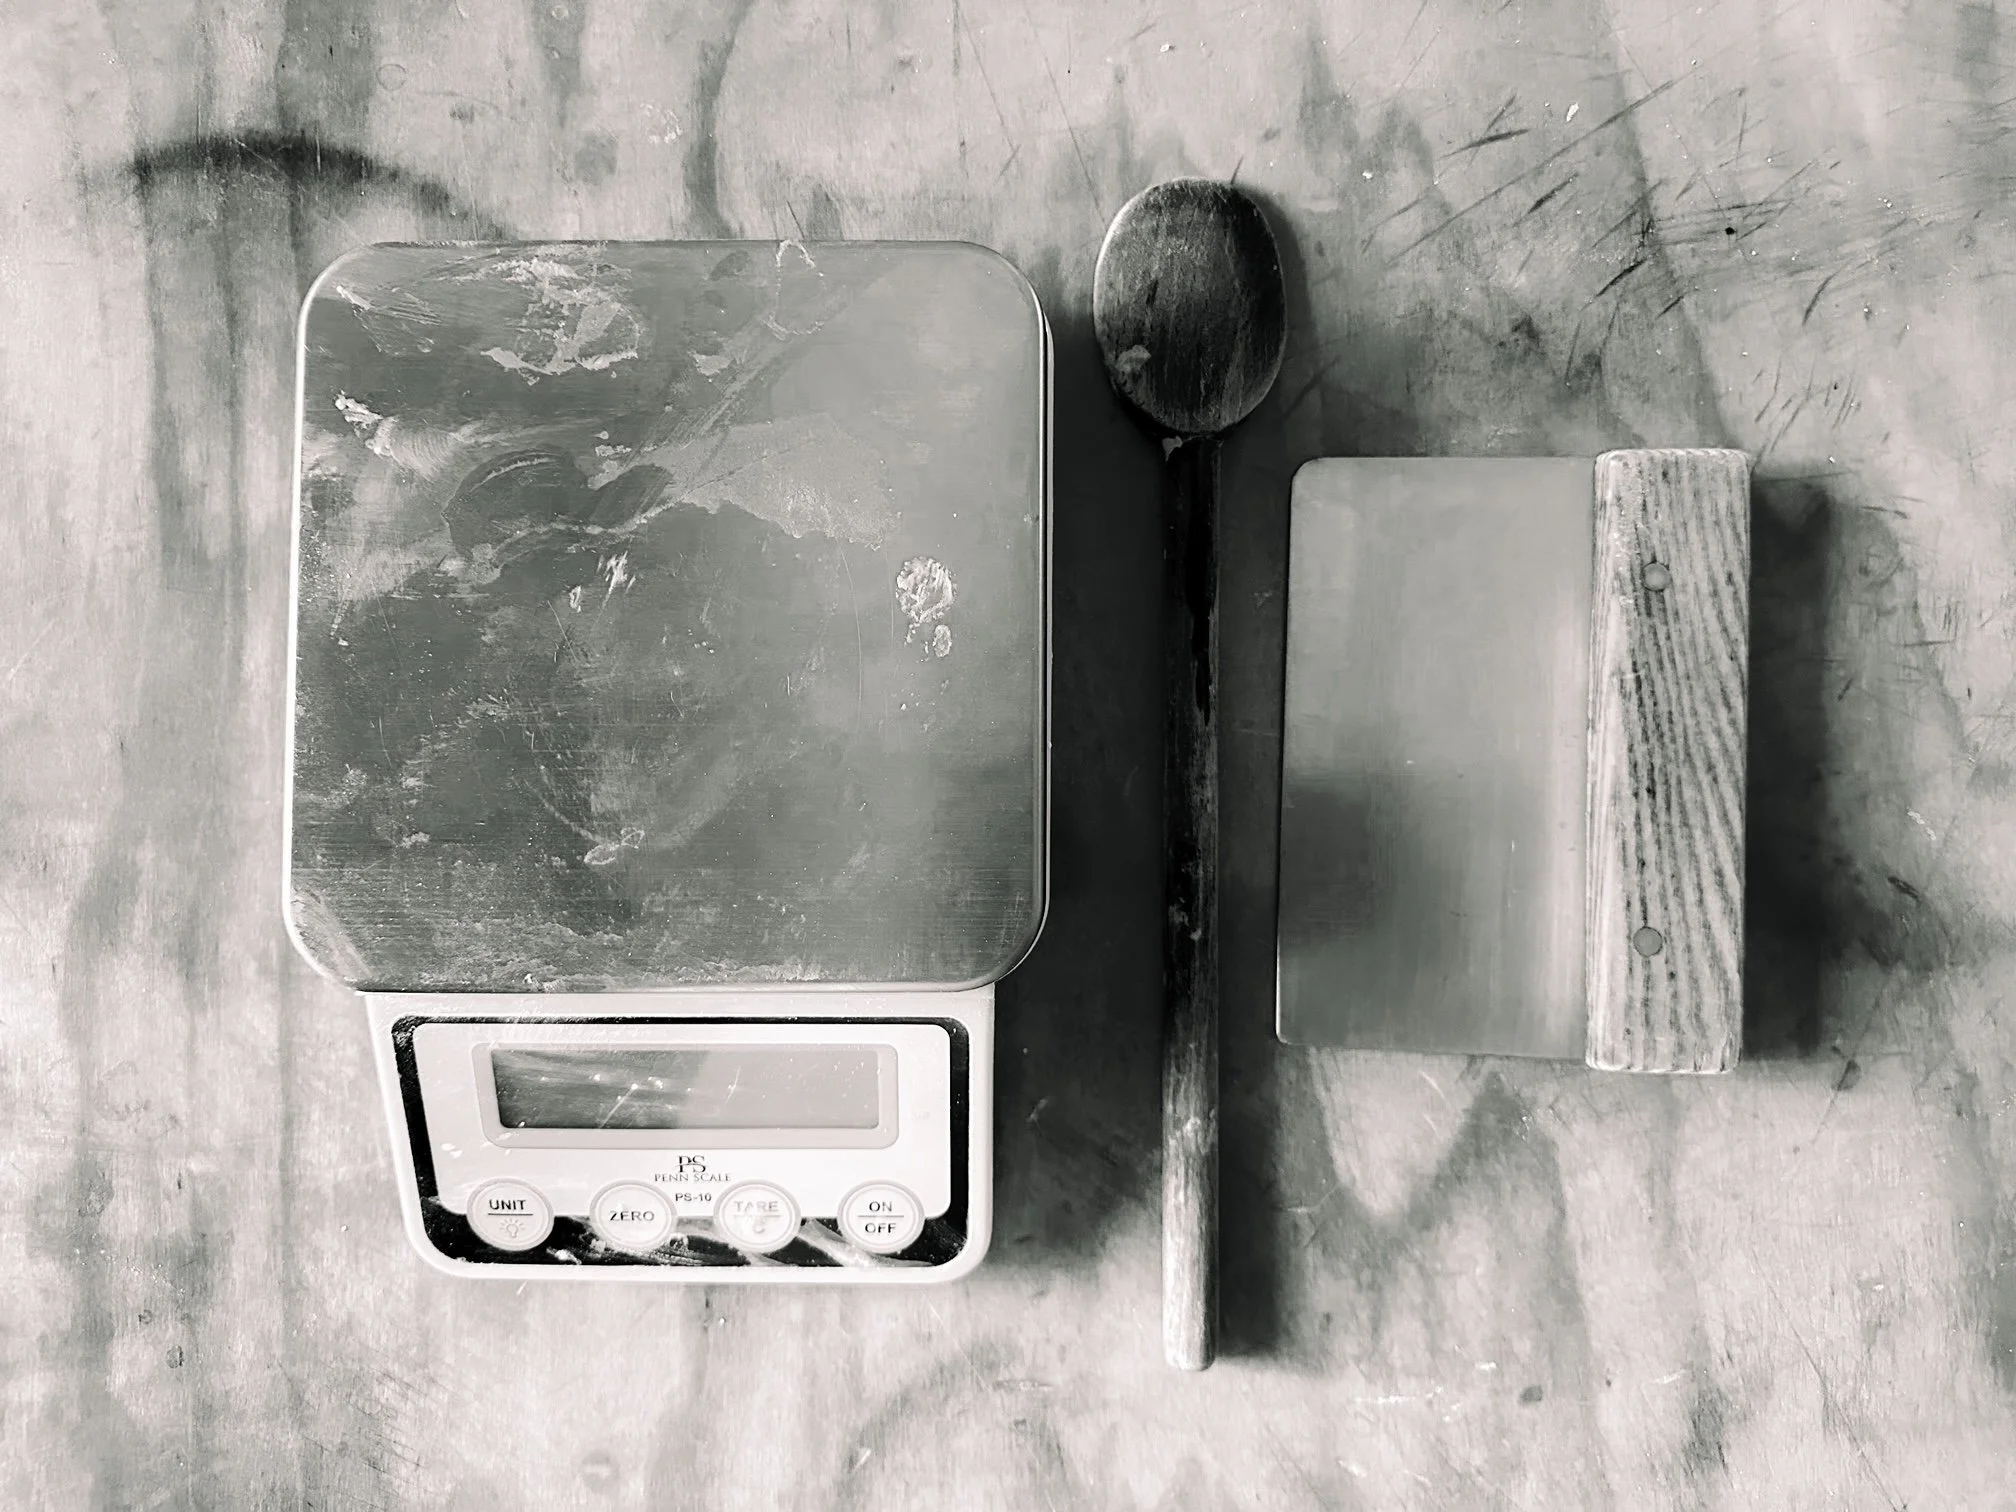
Scale out your ingredients. We work with percentages when making bread. This allows us to easily bulk up formulas or scale down depending on our needs. You will need a bowl, as I highly suggest mixing by hand. You will need a scale. We will be scaling in grams.
FORMULA:
100 percent flour, 70 percent water, 20 percent levain, 2.5 percent salt
For two loaves we are going to mix 1000 grams of flour, 700 grams water, 200 grams levain, 25 grams salt
Your 1000 grams of flour can be a mix of flours. My blend has four different types. 35 percent Artisan Bakers Flour, 35 percent High Protein Bread Flour, 20 percent Malted Artisan bakers flour, and 10 percent Stone Ground Medium Whole Wheat.
If you do not have access to these flours you can just as easily work with an artisan bread flour and a whole wheat. 90 percent white, 10 percent whole wheat. As you get more accustomed to the process you can start tweeking the varieties and ratios of your flour mix.
THIS FORMULA OR VARIATIONS ON THIS THEME CAN BE FOUND IN MOST BREAD BAKING BOOKS.
PROCESS: MIX, FERMENT, SHAPE, RETARD, BAKE
Mix you water, levain and flour in a bowl. I start with 70 percent hydration but usually move up from there and eventually end with 80-85 percent hydration. You will know by feel, and trial and error, when you have reached your desired consistency.
Cover and let dough rest for 20-30 minutes before adding the salt. We call this the autolyse period. After the 20 minutes add the 25 grams of salt with a dash of water. Incorporate the salt thoroughly into the dough.
Now we start the four hour fermentation process accompanied with a series of dough turns every 30 minutes. Mixing the salt in is considered your first turn. We will do five turns in total with an hour rest period after the final turn.
This process helps develop the gluten gently over a longer period of time and encourages flavor development. During this time you will want to be aware of the temperature of your dough. Rule of thumb, the warmer the dough the faster it ferments, the colder the dough, the slower it ferments. We will aim for our dough to be in the range of 78-82 degrees F. Dough acclimates quickly to room temperature so you will start to have a feel, naturally, for where your bread temp rests after so practice.
Something to note: You only become good at making bread by making a lot of bread. This is a practice. Your bread is a product of your own trial and error. You learn to know your dough and adjust to the variables accordingly over time spent repeating the process.
SHAPING
After the bulk ferment we organize to shape our loaves. You will need a scale, a dough knife, two proofing baskets, flour for dusting the bench and a mix of whole wheat flour and white rice flour for dusting the baskets.
Your dough knife will be your best friend in this process especially if you are working with a highly hydrated dough. Do not fear the wet dough. Just know that the key to successful shaping is gentle, swift and efficient movements. Less is more when shaping. Do not handle the dough too much. Utilize the dough knife and the table to encourage tension in your loaves. If things start looking bad, leave the dough to rest and come back to it later. This is just a practice of repetition and patience to gain skills and confidence in shaping sourdough.
First is the preshape. This is a simple and quick action to build an initial tension in your dough. You are shaping the dough into a round. Watch the tutorial for more accurate demonstration.
Let the dough bench rest for 15 minutes or so. We want it to relax a bit before the final shape.
Then final shaping. Video tutorials are valuable to understand the movements and process of this final shape.
Once the loaves are shaped and nicely tucked into their baskets I let them proof, covered with a flour sack towel, for 30 minutes to an hour before retarding them over night. I like to retard at a low 40 degree temp. Refrigeration can be just a tad too cold for this but if that is your only option then use the fridge. Otherwise you can leave the loaves outside if it is a chilly enough night.
These loaves will rest for up to 12 hours before bake off in the morning.
BAKING OFF YOUR LOAVES
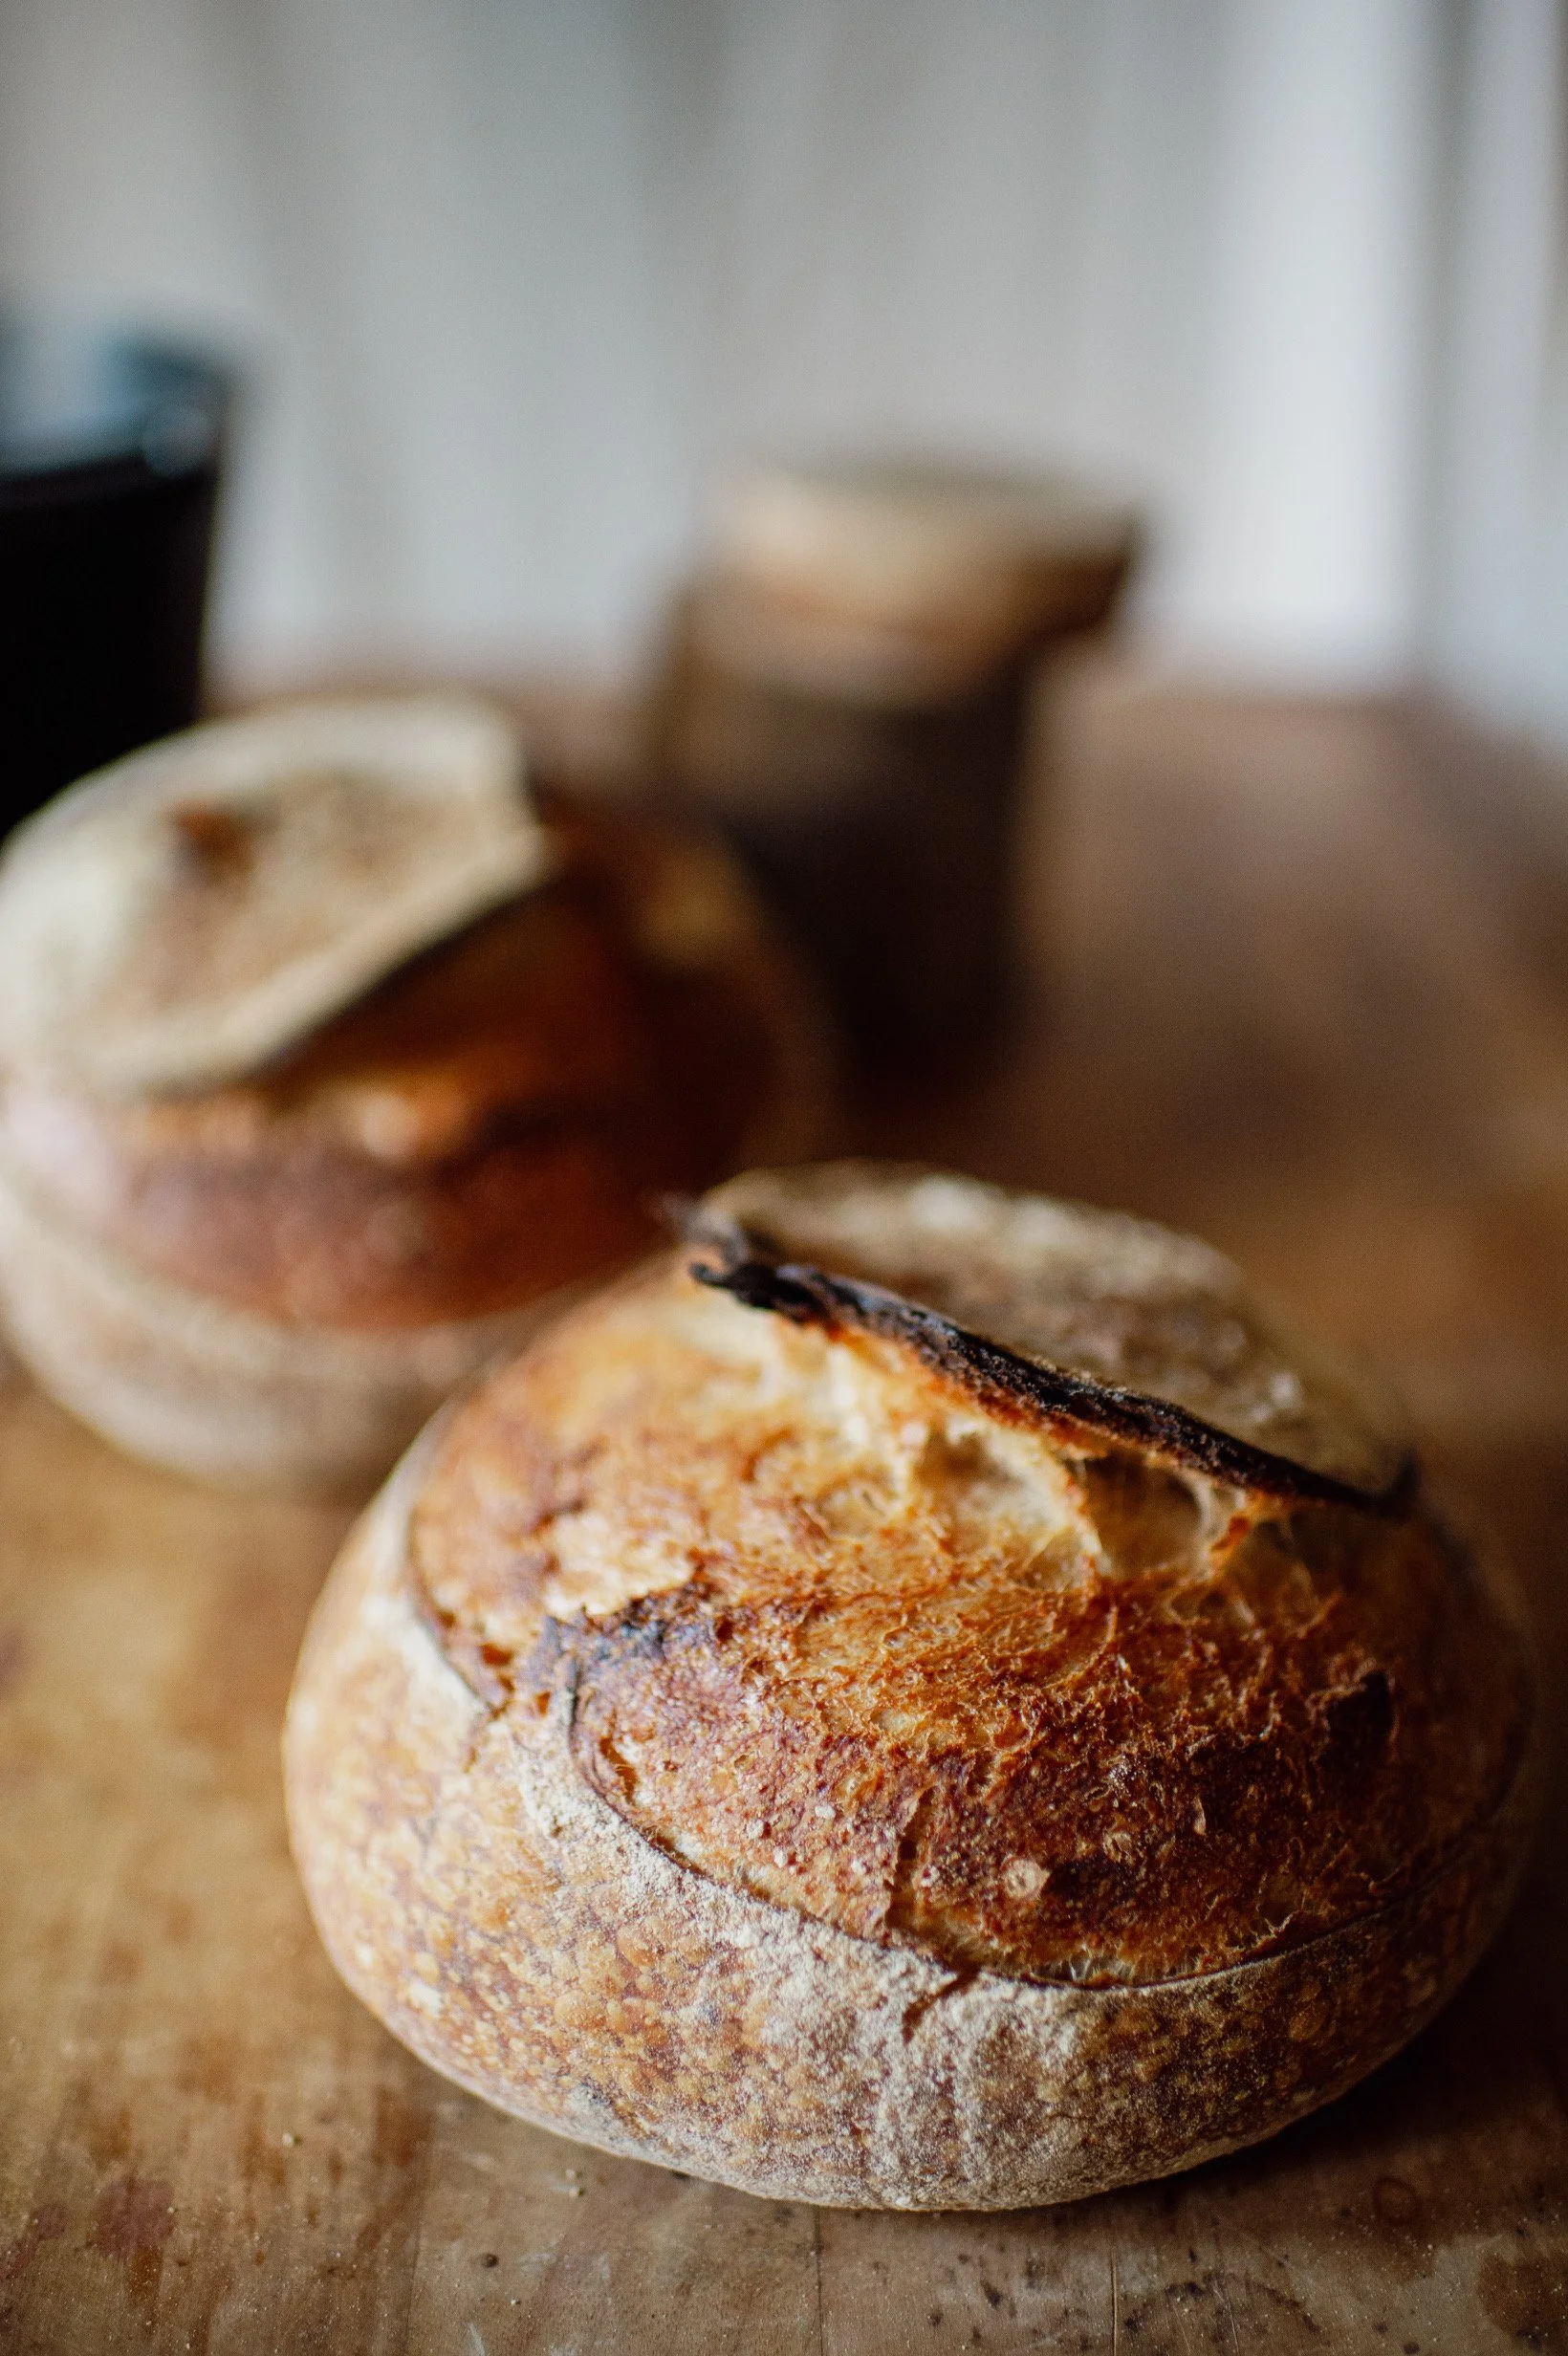
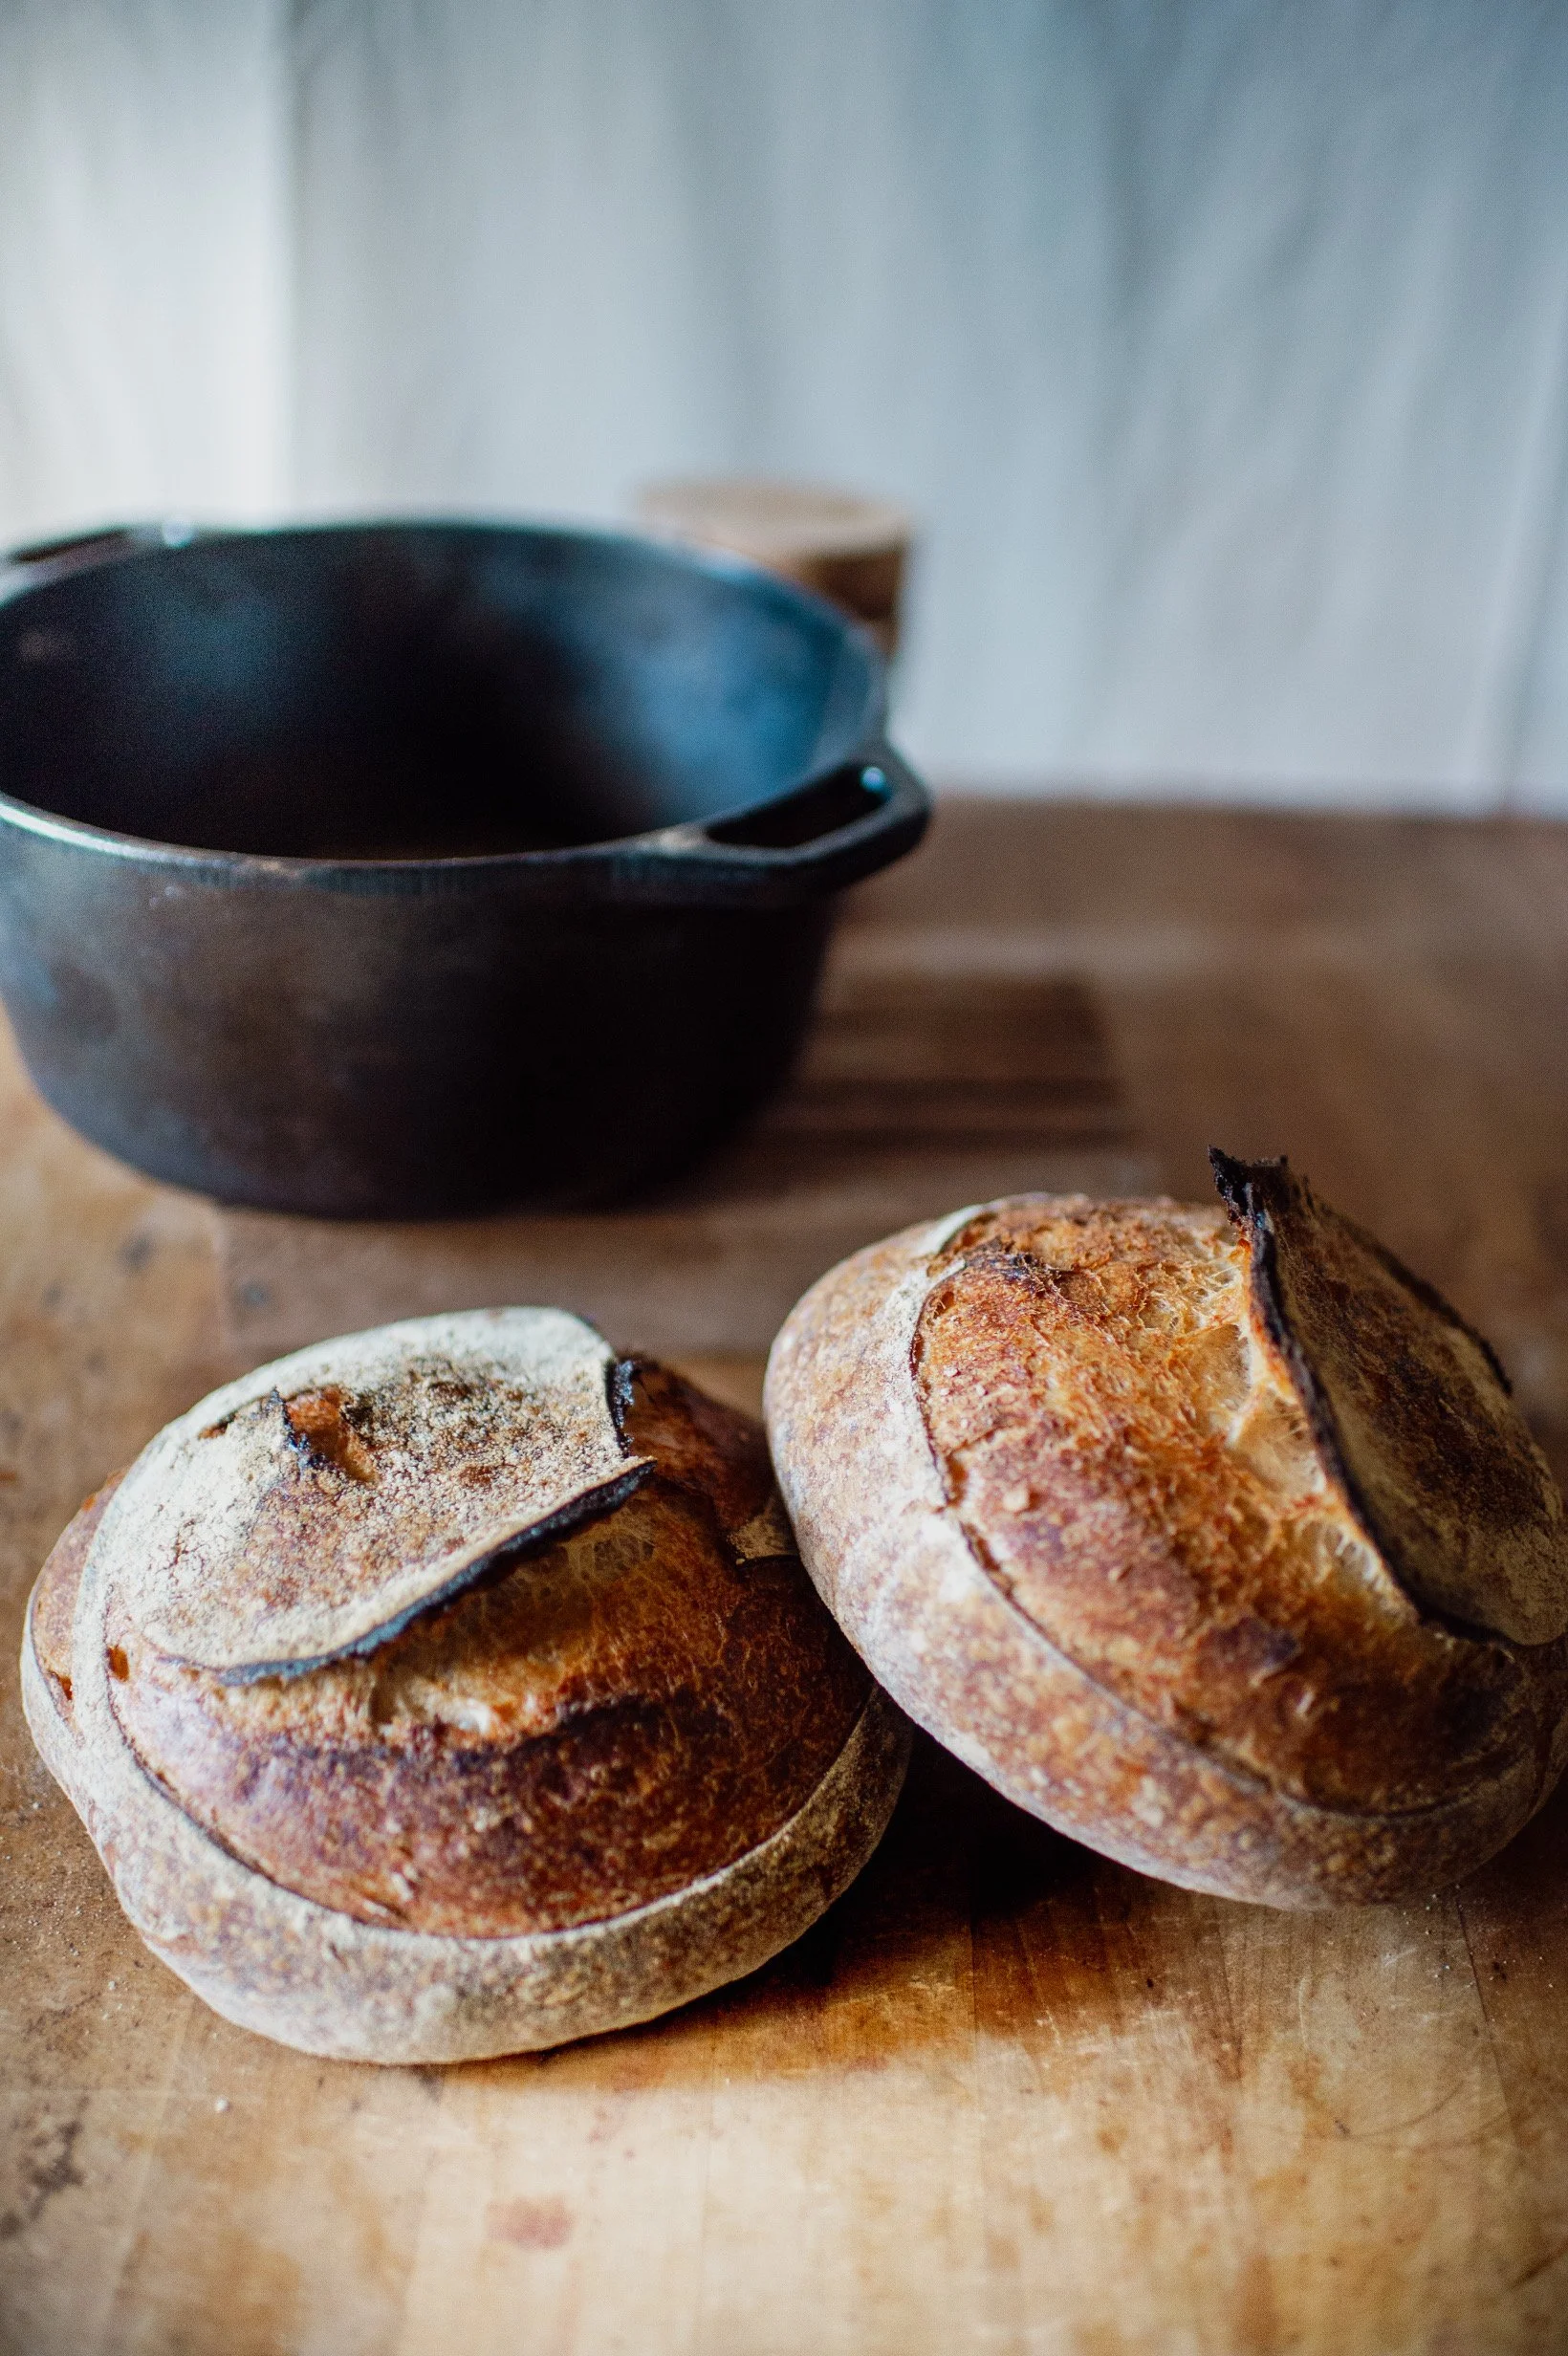
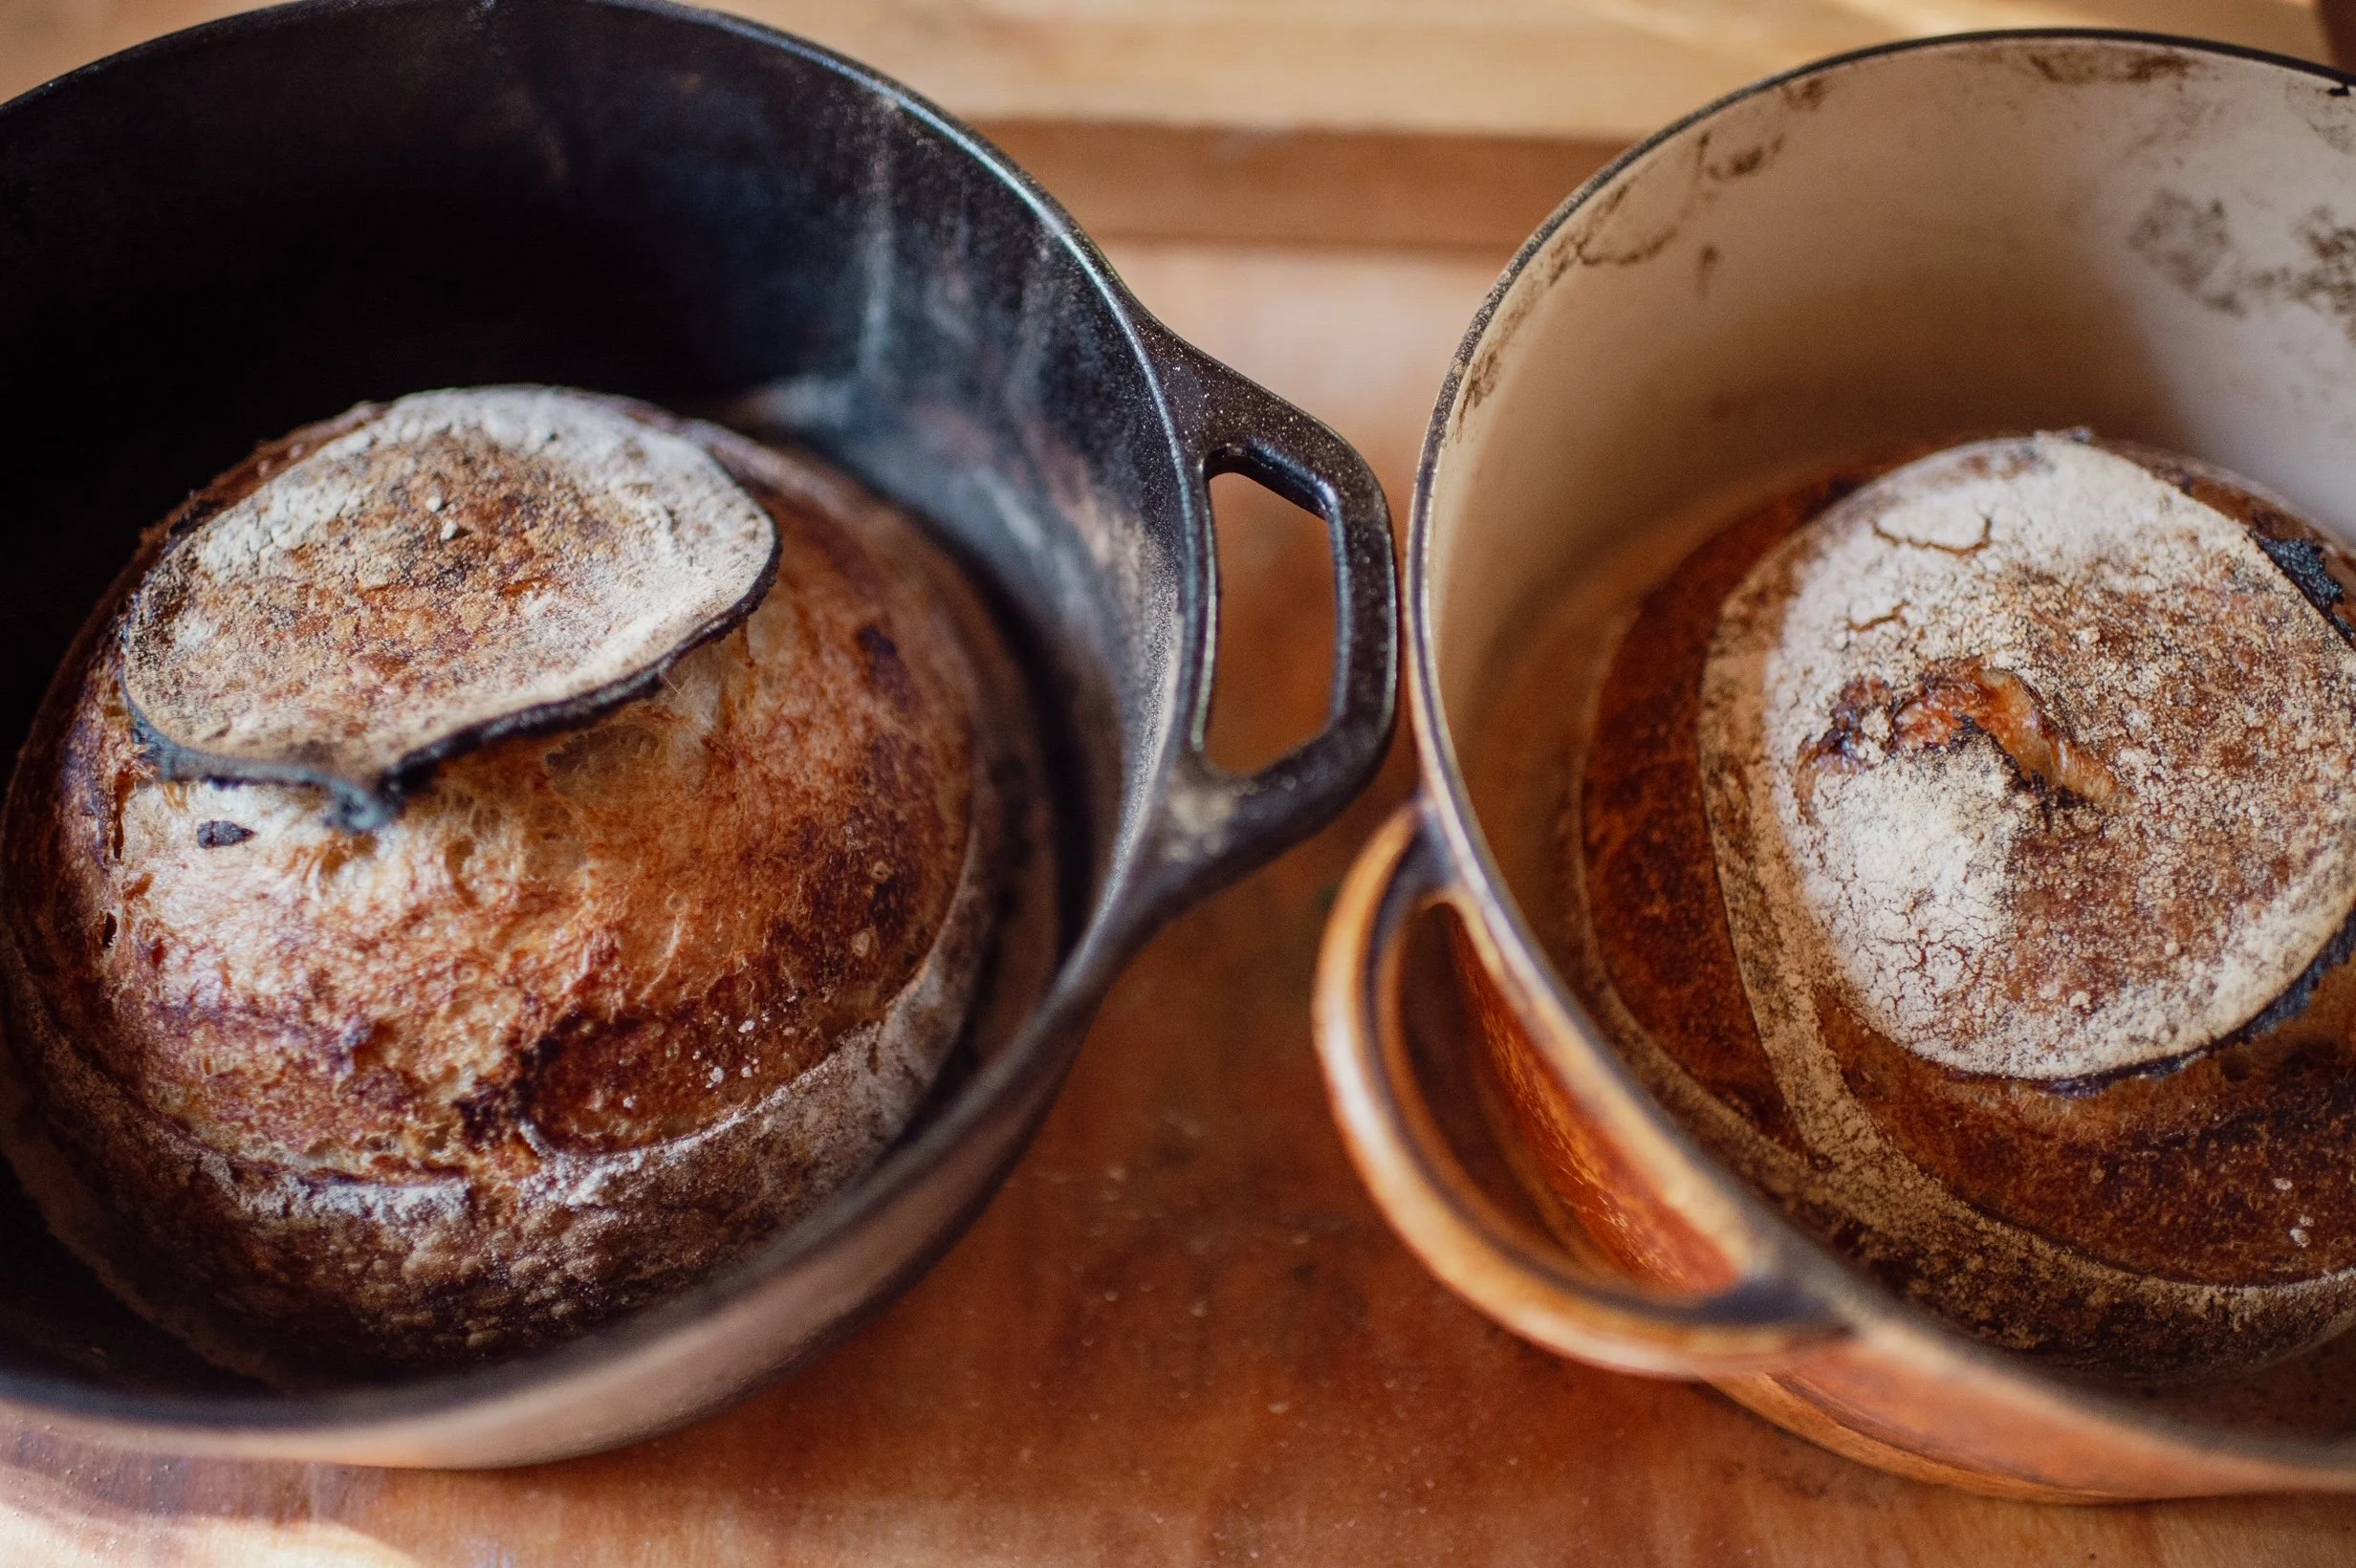
Preheat the oven to a hot 500 degrees F. We will bake off in a dutch oven so as to capture the steam and create an environment that encourages development of a crisp and blistered crust and expansive growth and oven spring. Preheat the dutchoven in the oven before flipping your loaf into it. Score it swiftly with a lame, razor or knife. Put the lid on the dutch oven and into the oven goes the bread.
You will bake your loaves with the lid on for 20-25 minutes. Then remove the lid and bake until the bread is a dark caramelized color. It is done when you tap the bottom of the loaf and it sounds hollow.
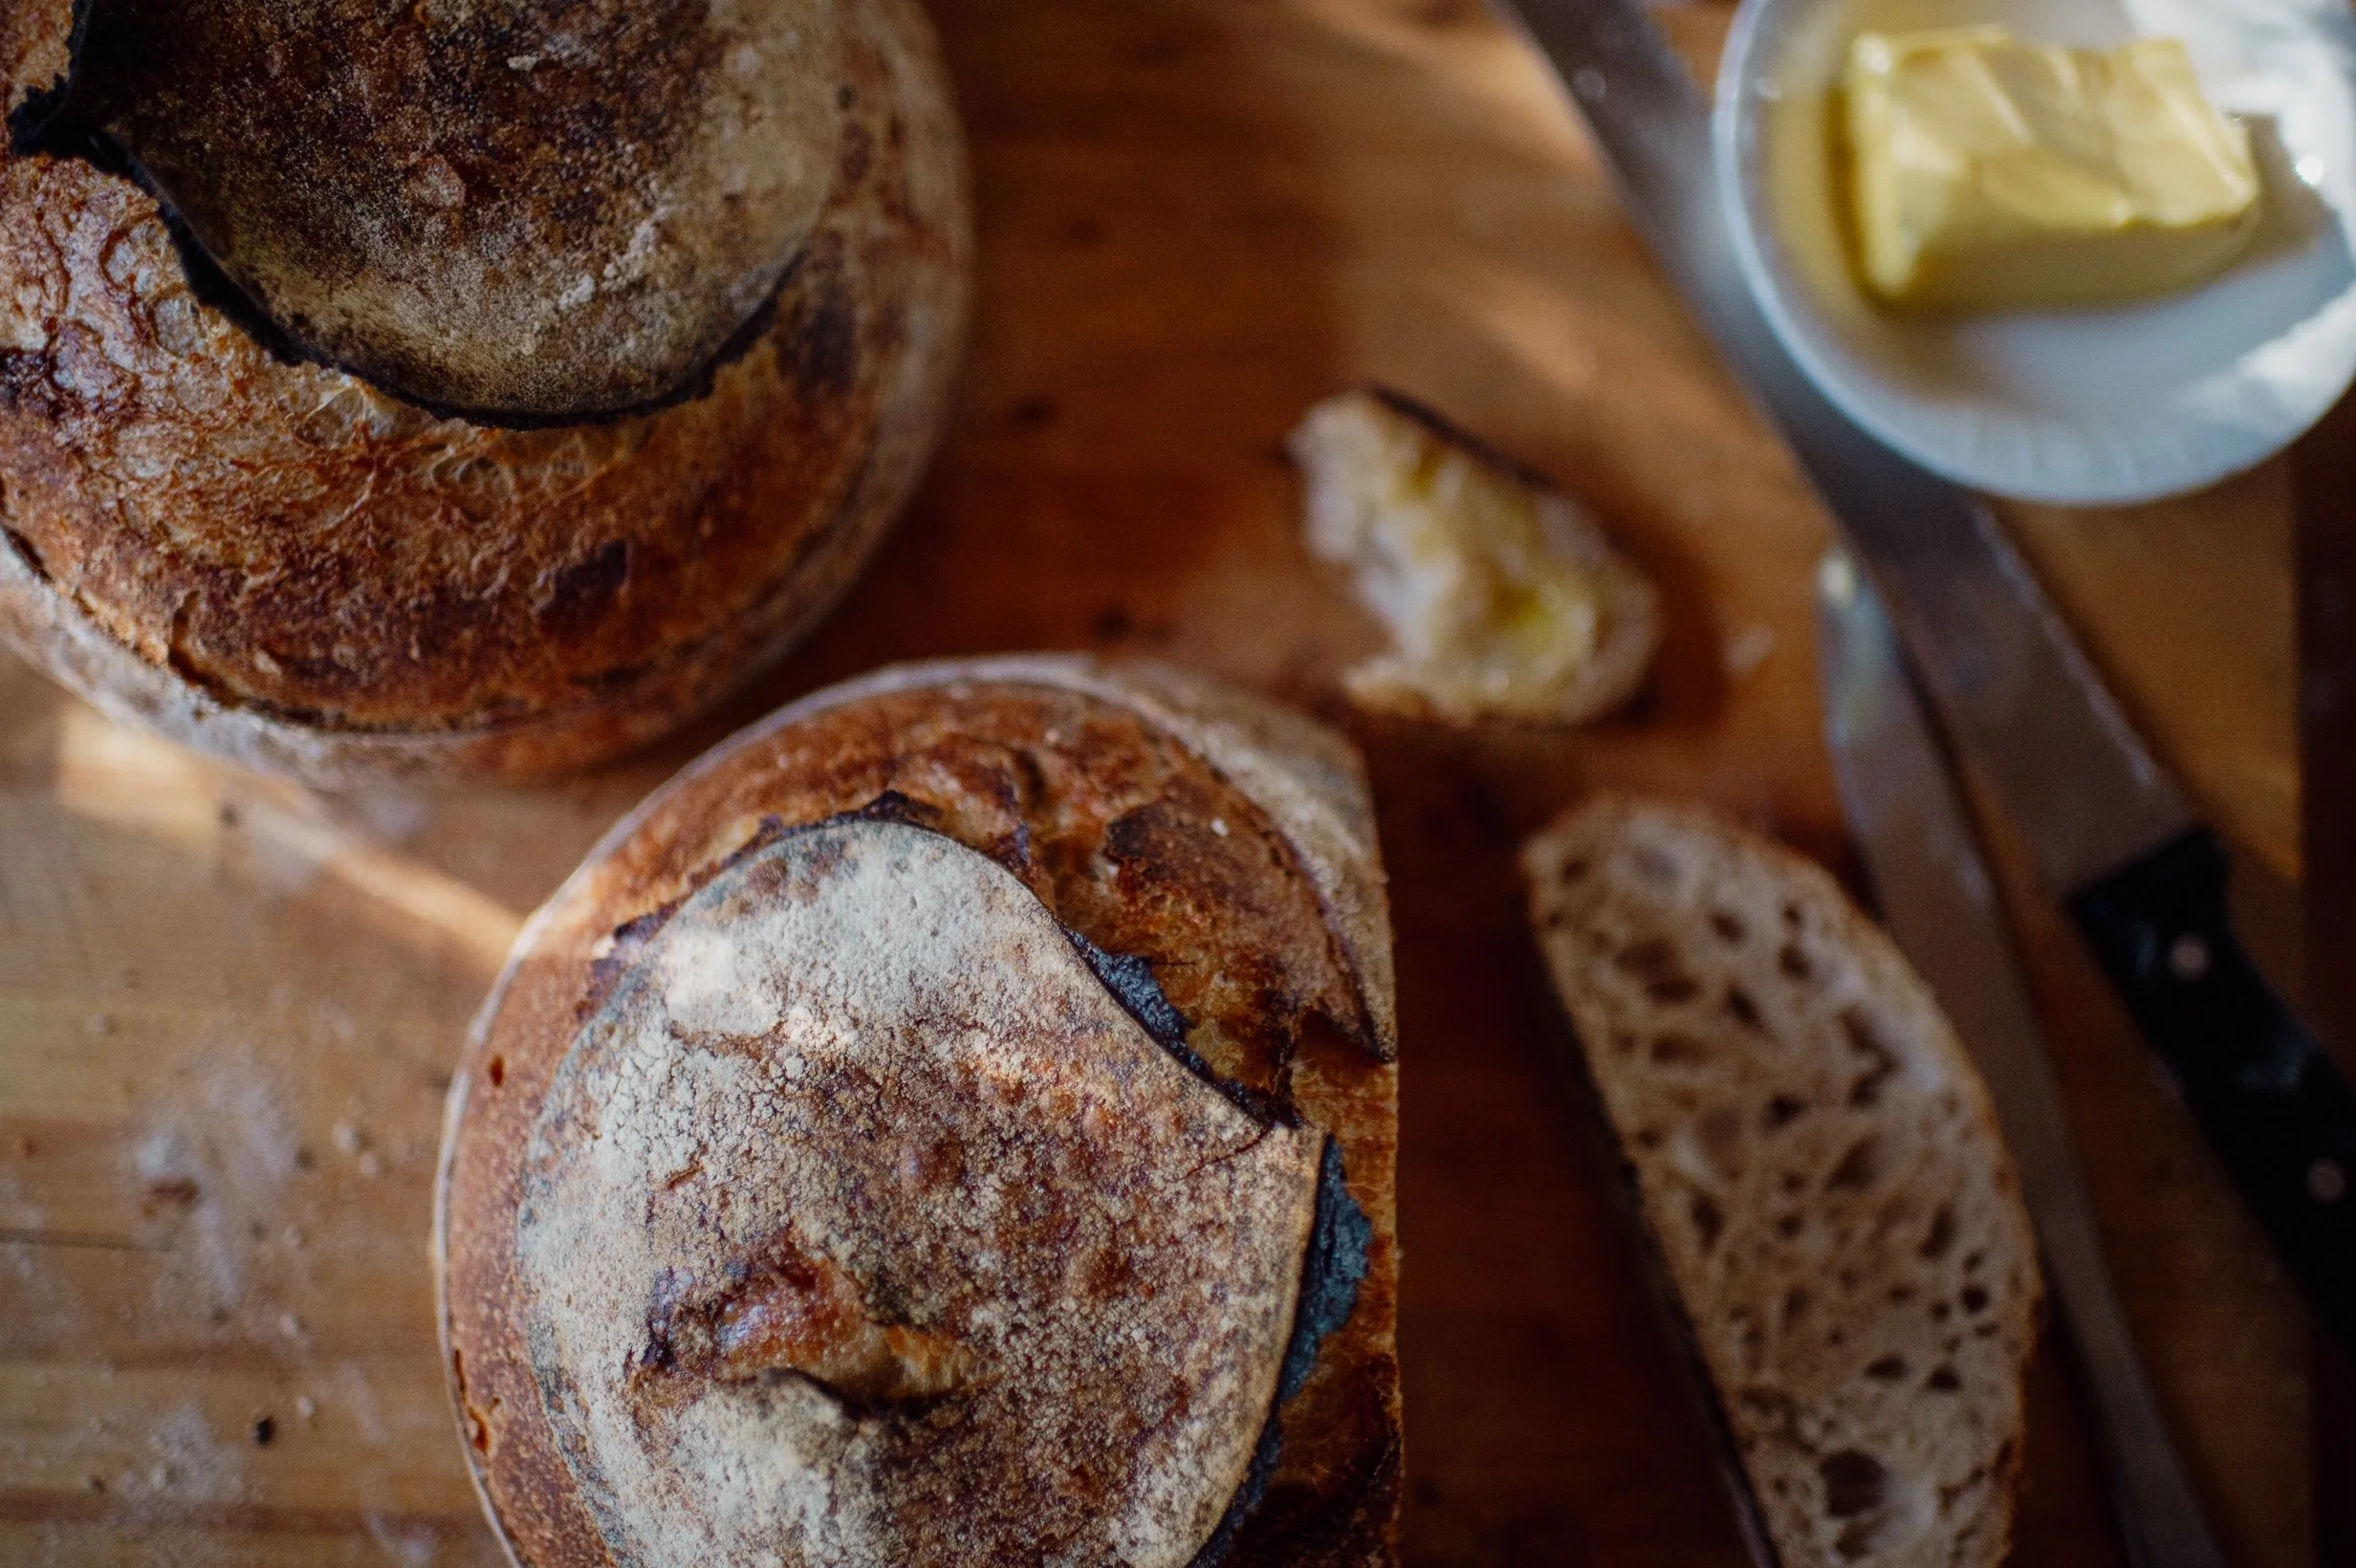
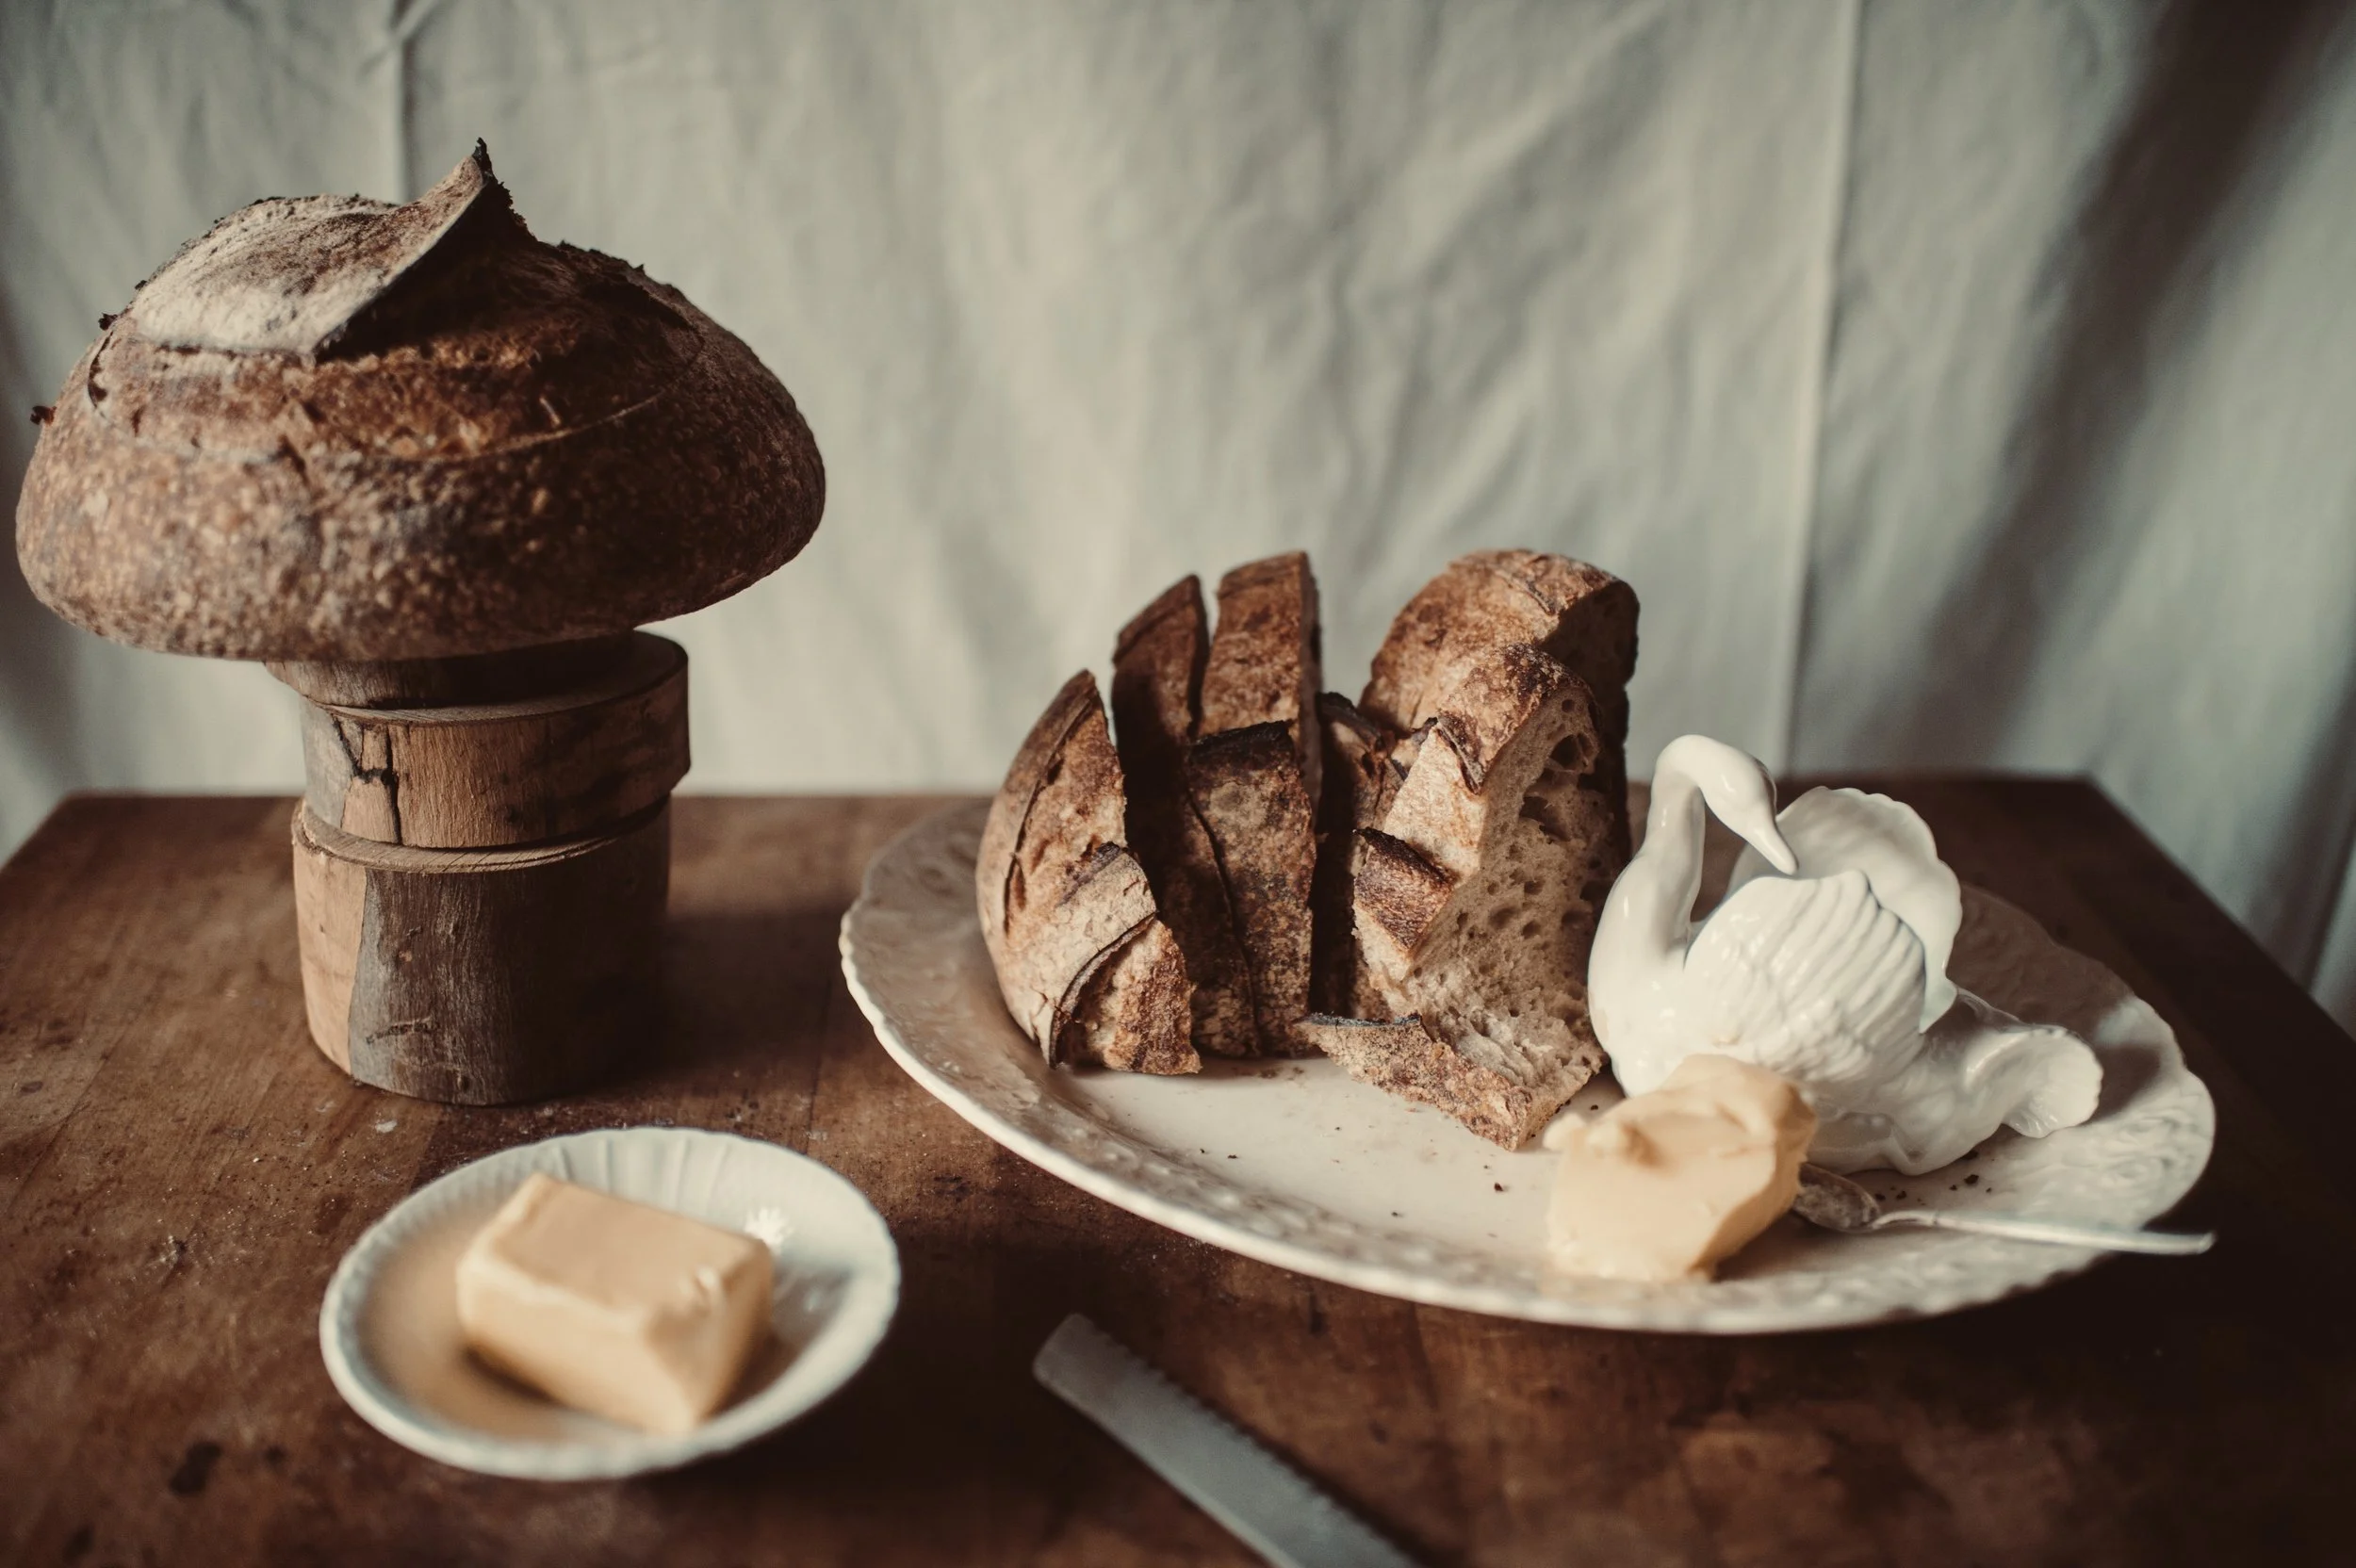
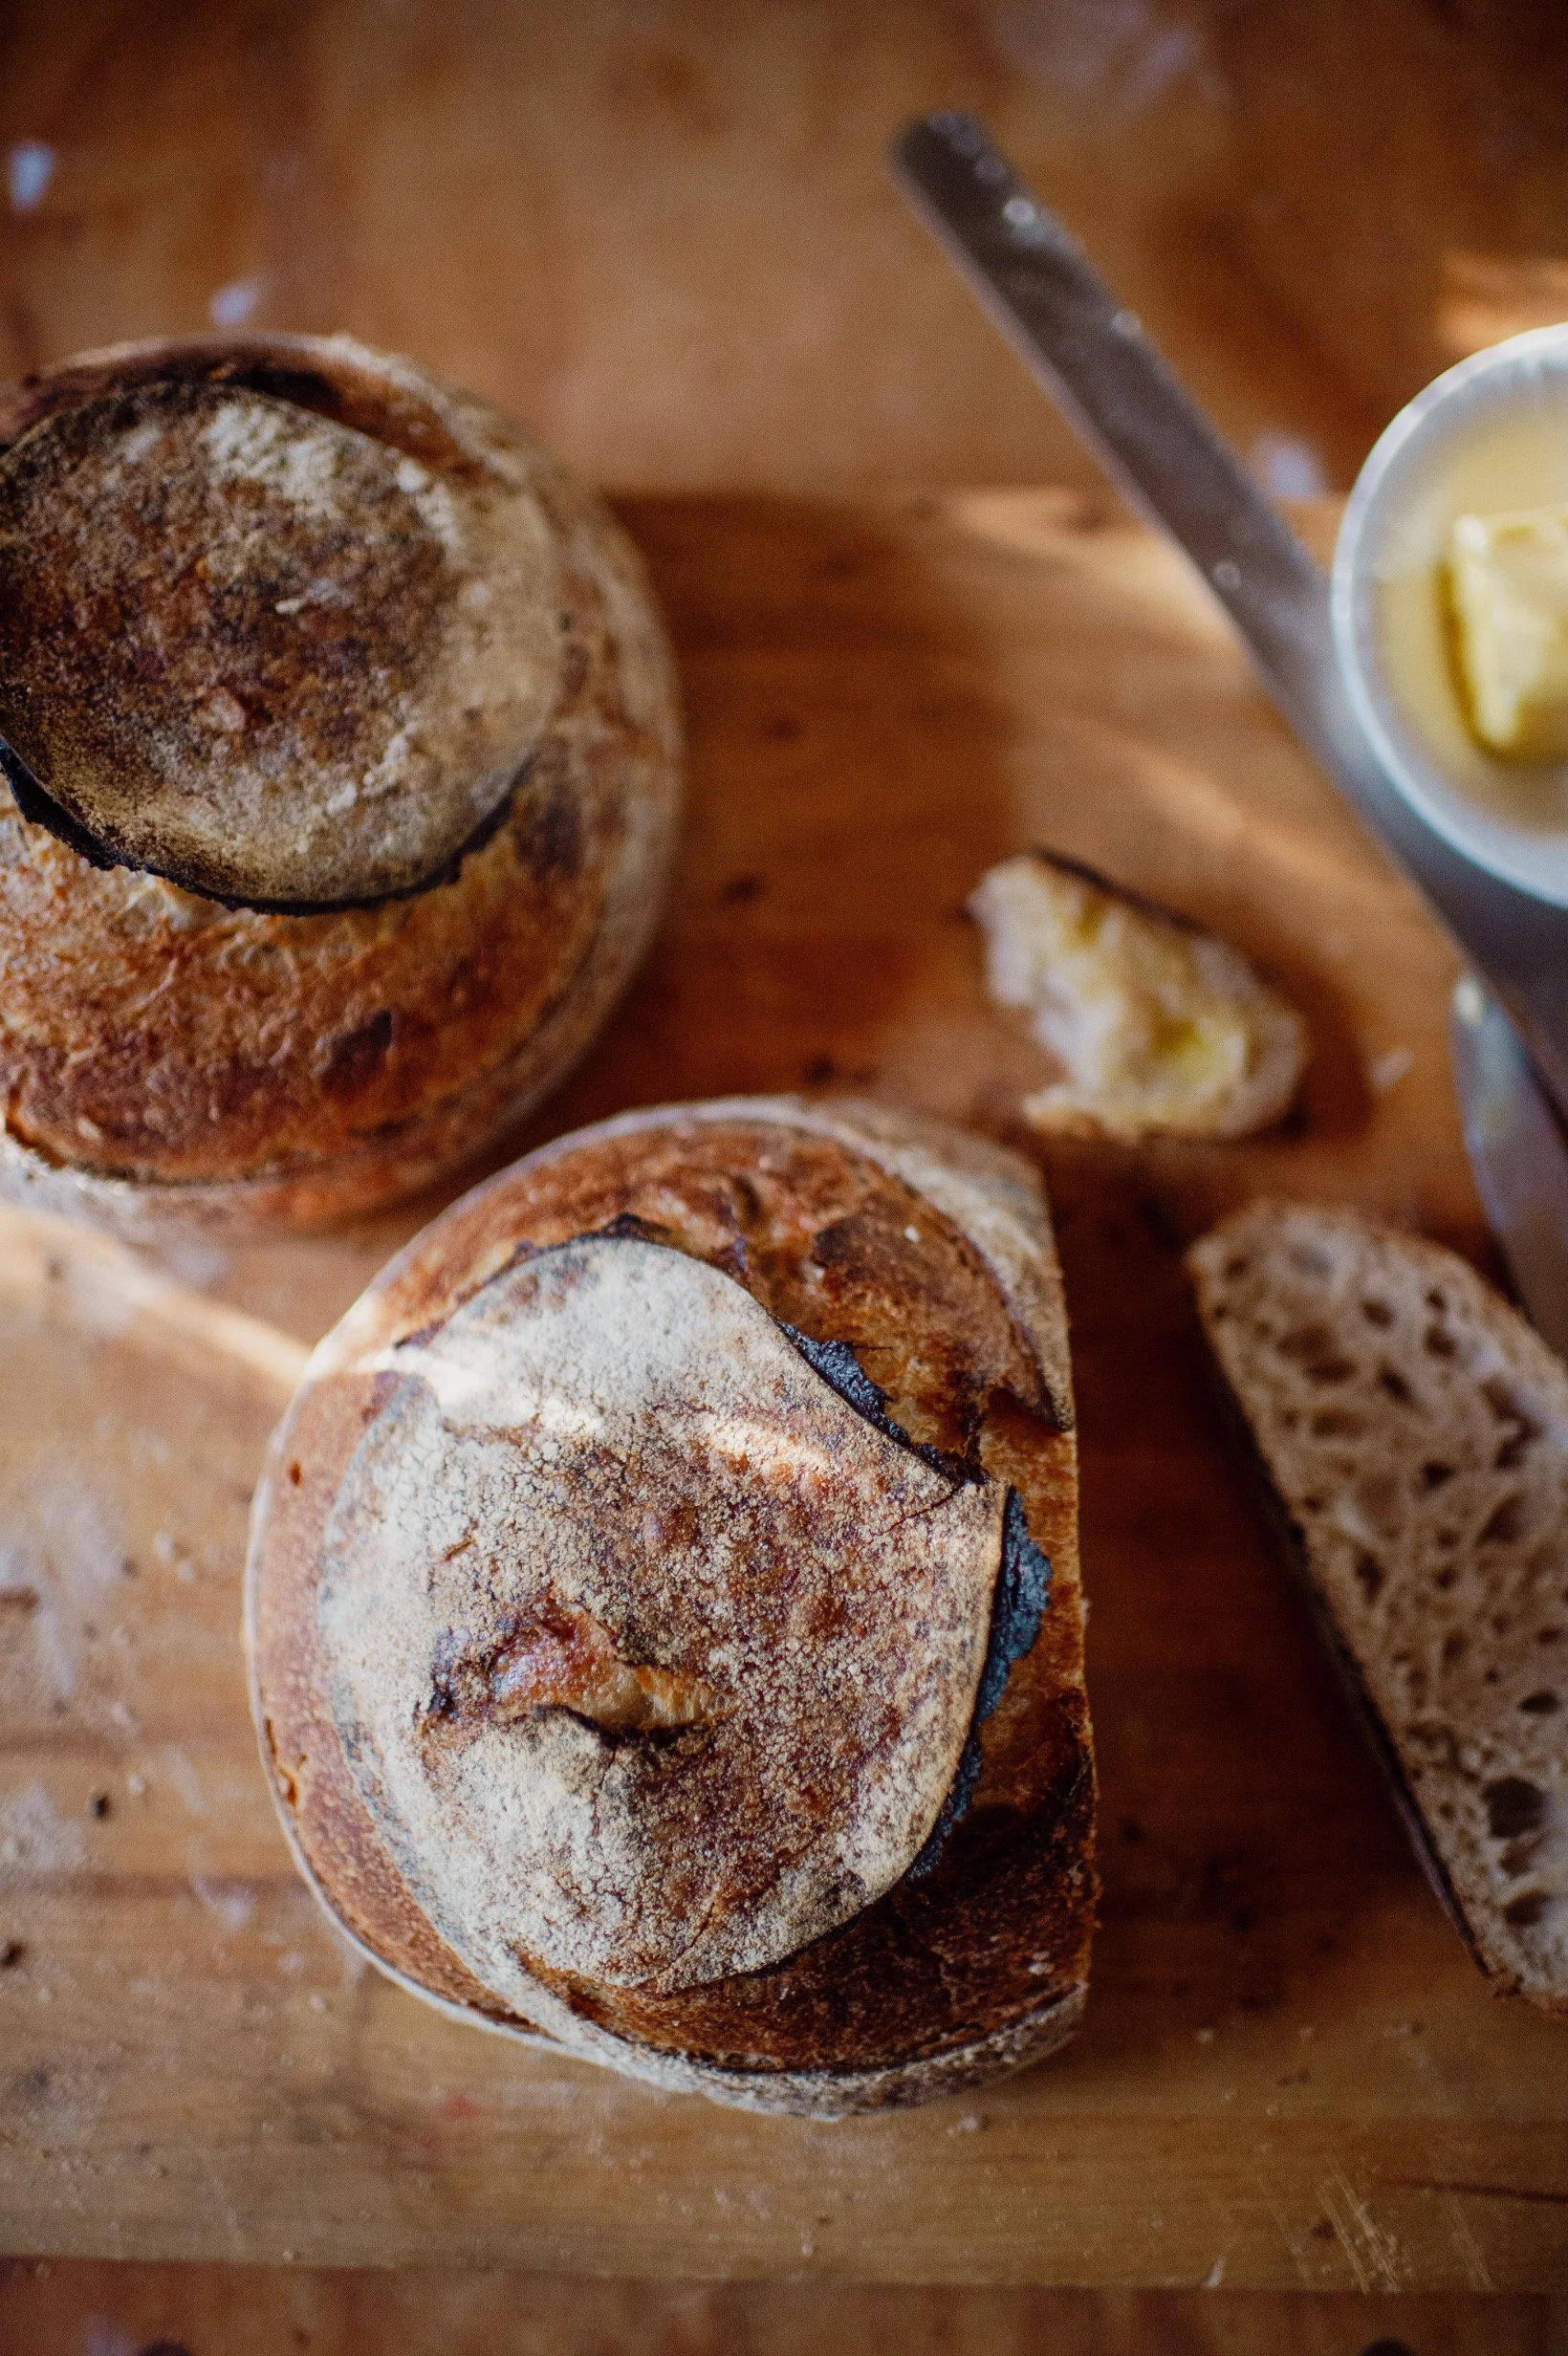
Remove from the oven and dutch oven. Let cool. Then eat it with butter.
SO THERE YOU HAVE IT! ENJOY!
As I state numerous times here in the Sac(k), I am no expert. What I offer are the culinary basics so you can build a simple meal, feed your friends and family. I strive for basic ingredients for a simple everyday menu based on what I concider the staples of a well rounded kitchen. Bread is at the heart of this for me. This sourdough loaf, with a good soup and salad, is as basic as it comes.
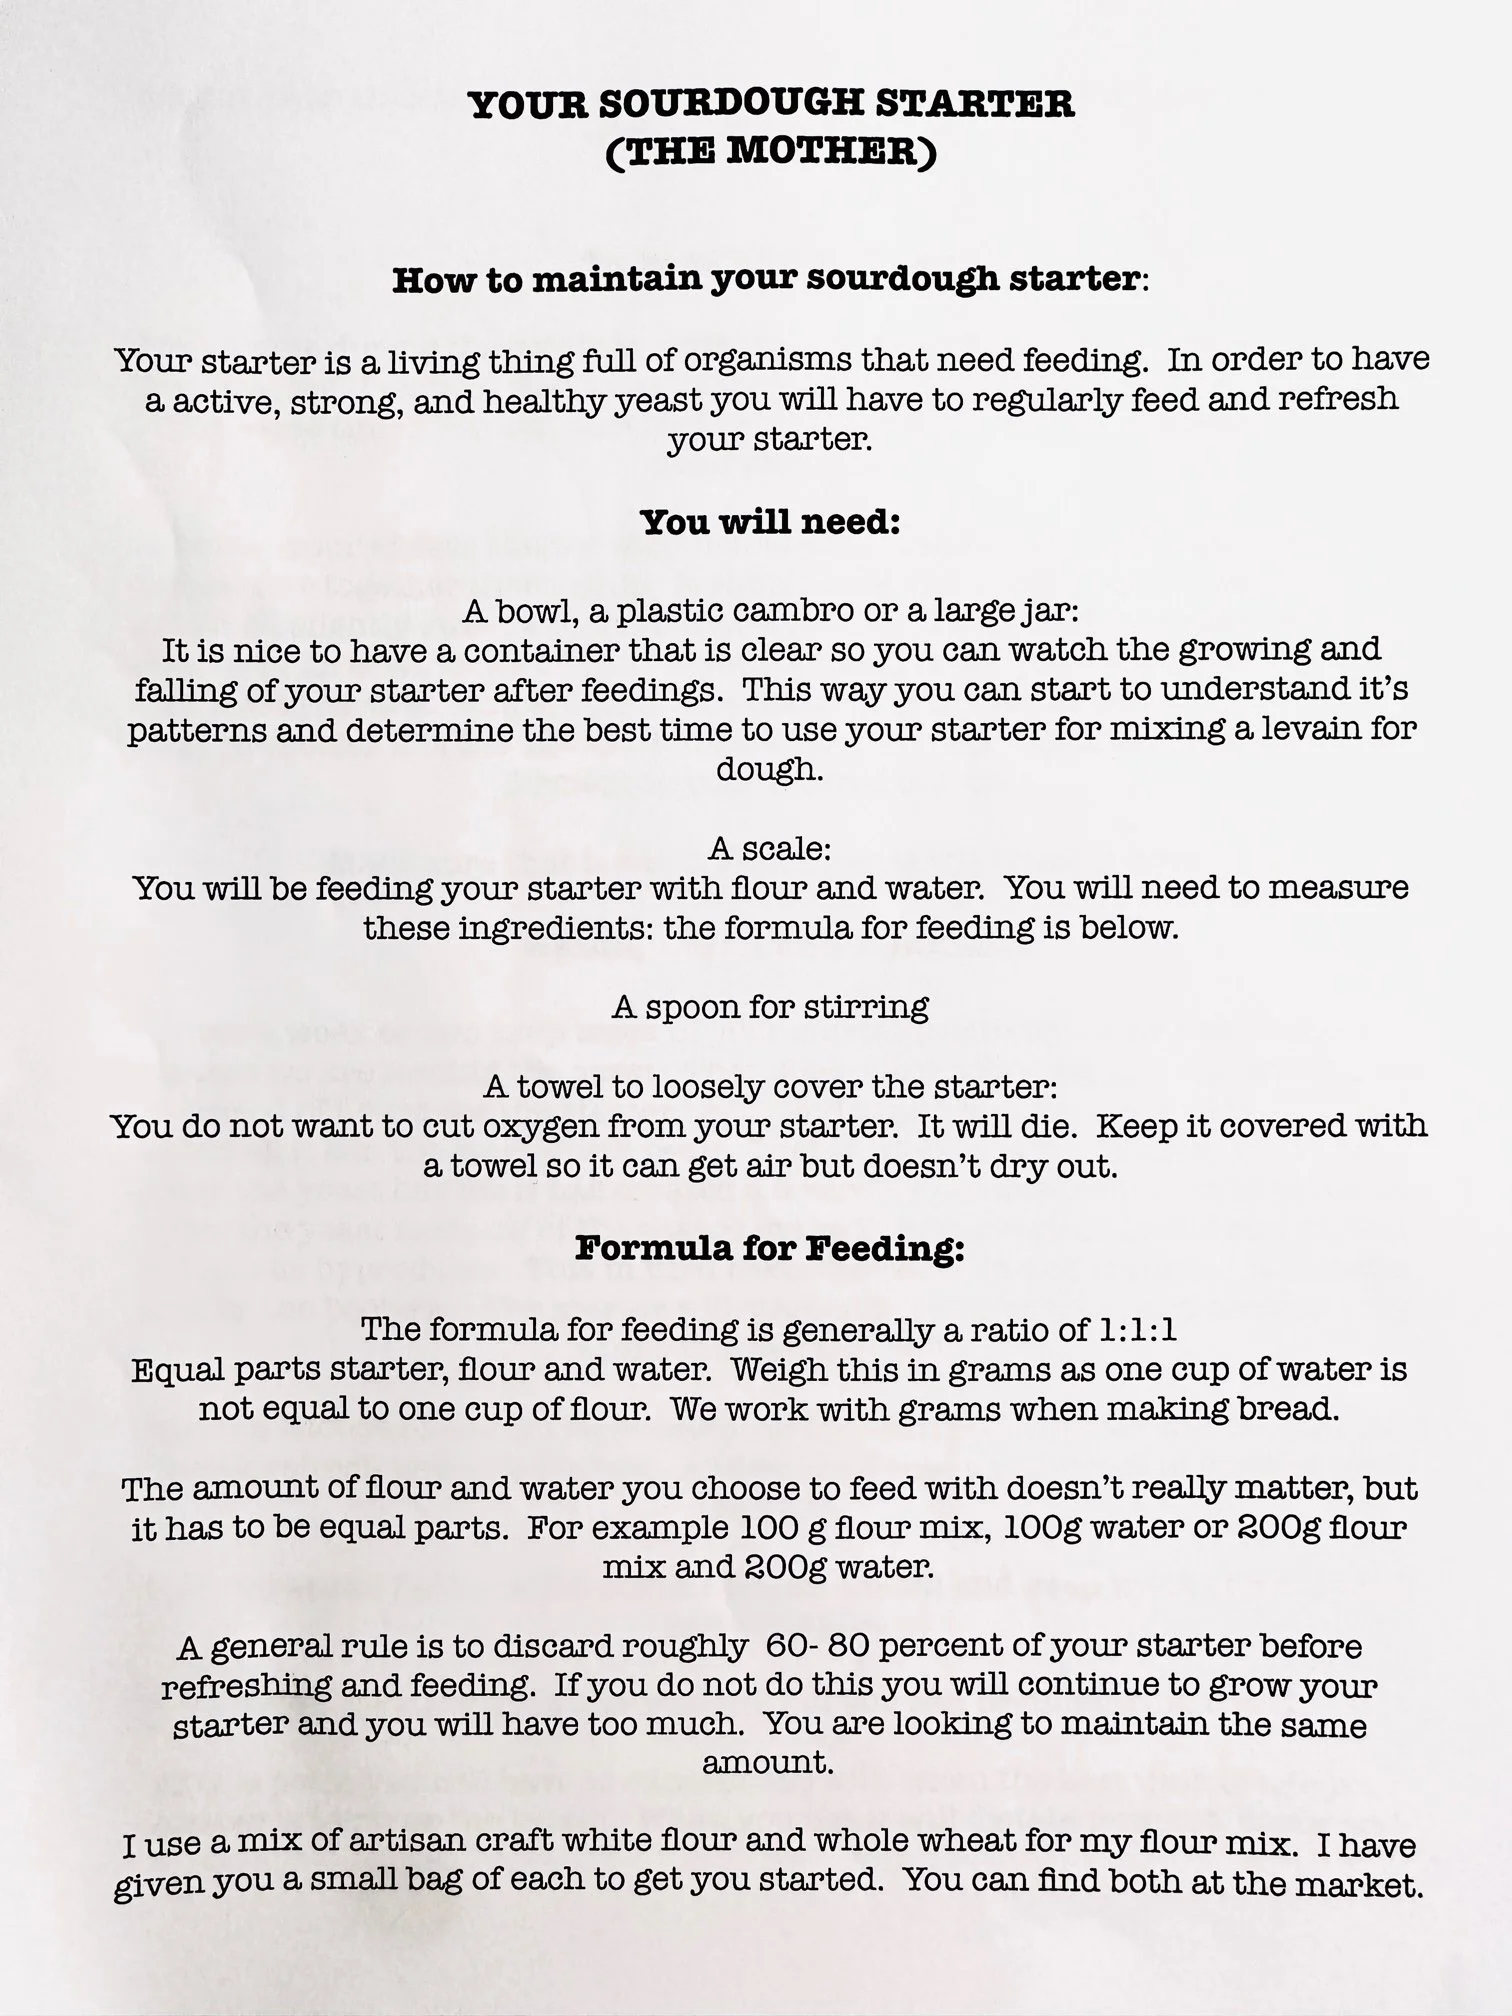
HOW TO MAINTAIN AND FEED YOUR MOTHER: AN ADDENDUM
〰️
HOW TO MAINTAIN AND FEED YOUR MOTHER: AN ADDENDUM 〰️
I SENT THIS INFORMATION OUT WITH THE STARTERS THAT SOME OF YOU CAME TO PICK UP IN DECEMBER. I THOUGHT IT IS ADDITIONAL INFORMATION THAT CAN BE USEFULL TO ALL OF YOU. QUITE FRANKLY, THERE IS NEVER TOO MUCH INFORMATION ABOUT YOUR MOTHER!

